Genetic markers
Markers have two sides. There is the catalogue definition — what the marker is, defined once on the genome — and the per-person genotype — which alleles a given individual carries. You define the first in the Genetics panel; you record the second in the Individual panel.
Where to find it
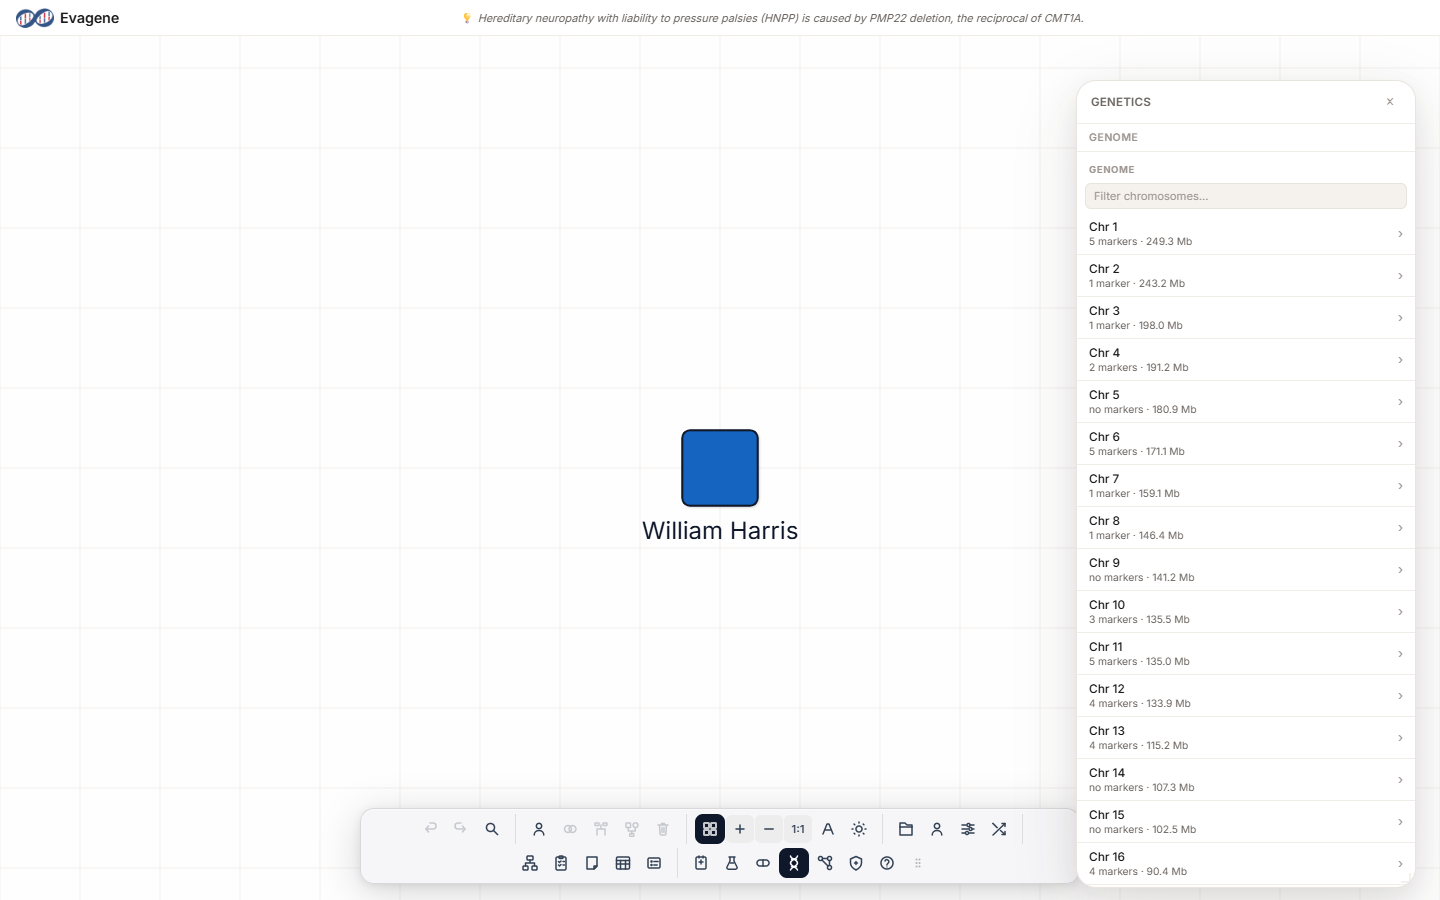
The catalogue side lives in the Genetics panel. Open it from the dock’s Genetics button or press g. The panel floats over the canvas and can be dragged, and resized from any edge or corner; its dock icon highlights while it is open. The body is the Genome → Chromosome → Marker → Disease blade drill-down. The genotype side lives in the Individual panel’s Markers section — the last section of the panel. Species is managed automatically (default Human) and the genome build is implicit; there is no per-marker species or build field.
Defining a marker (Genetics panel)
Open the Genetics panel (g). In the Genome column, click a chromosome — for example Chr 17 — to open its column. Under Markers, click + Add Marker. Click the new marker to open its column, which has these editable fields:
| Field | What to enter |
|---|---|
| Name | A label for the marker. |
| Gene | The gene symbol, e.g. BRCA1. |
| rsid | The dbSNP reference, e.g. rs12345. |
| Type | One of —, Gene, Regulator, Marker, Unknown, Other. |
| Band | Cytogenetic band, e.g. 17q21. |
| Position (bp) | Genomic position in base pairs. |
| Distance (cM) | Genetic-map distance in centimorgans. |
| McKusick # | The OMIM number. |
| Notes | Free text. |
The marker column also shows the selected individual’s genotype read-only, and a Linked Diseases list — the diseases associated with this marker, reachable as the final step of the drill-down.
Recording a genotype (Individual panel)
Genotypes belong to people, so they are entered on the individual, not on the genome. Select the individual on the canvas, open its Individual panel, and scroll to the Markers section (the last section). By default the section reads “Inherited from parents” and is read-only. To record a genotype directly:
- Tick Override to make the section editable.
- Use the Add marker… dropdown — it lists catalogue markers not yet assigned to this person — to add one.
- Each marker badge then exposes three inline fields: A1 (first allele), A2 (second allele), and Zyg (zygosity), plus a × to remove it.
The Markers heading also carries a Karyogram button and a Show karyogram on canvas checkbox — see Karyogram viewer.
Worked example · Define BRCA1 and record a genotype
We will define a marker on the genome, then attach a genotype to a fictional person.
- 1Open Genetics. Press g (or click the dock’s Genetics button) to open the panel at the Genome column.
- 2Drill to the chromosome. Click Chr 17 to open its column, then click + Add Marker.
- 3Fill the marker column. Click the new marker, then set Gene = BRCA1, enter the rsid, and set Band = 17q21.
- 4Pick the person. Click the individual on the canvas to open the Individual panel, then open the Markers section.
- 5Record the genotype. Tick Override, choose the new marker from Add marker…, and set A1, A2, and Zyg.
Good to know. The Genetics panel only displays an individual’s genotype — it never edits it. Allele pairs and zygosity are always entered in the Individual panel’s Markers section, and only after you tick Override. Until then the markers are inherited from the parents and held read-only.
About Evagene. Evagene is an academic, research, and educational pedigree modelling platform. It is not a medical device and is not intended to diagnose, prevent, monitor, predict, treat, or manage disease, or to determine eligibility for screening, testing, referral, or treatment, or to replace professional clinical judgement. Outputs are illustrative and for educational / research purposes only.